

|
|
|
|
|
|
Message Search allows the assigned employee or WAP to search for and manage messages.
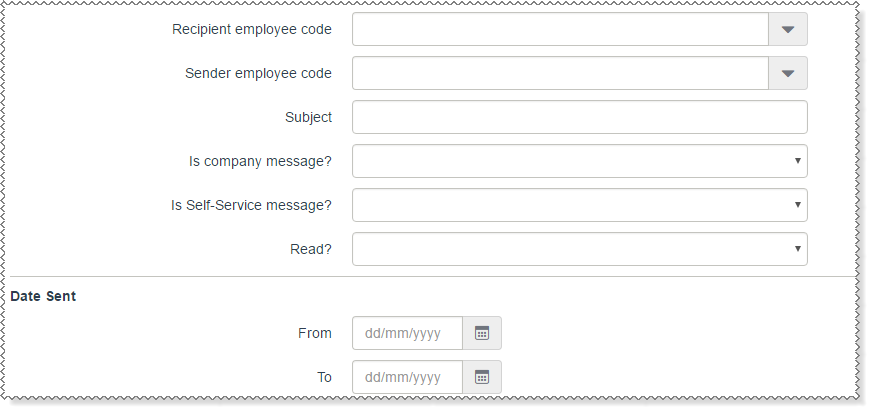
The Filter section enables the user to define the parameters for their search. The Layout section enables the user to select the information that they want to view. The filtered messages can then be exported to CSV.
Users cannot delete company messages that they have received, so the assigned employee must delete these.
To search for messages:
There are no mandatory fields, so you can leave all of the fields blank to display all messages.
The columns in the Selected columns list are displayed for the returned messages.
You can select multiple columns by pressing the Ctrl key while you click the required columns.
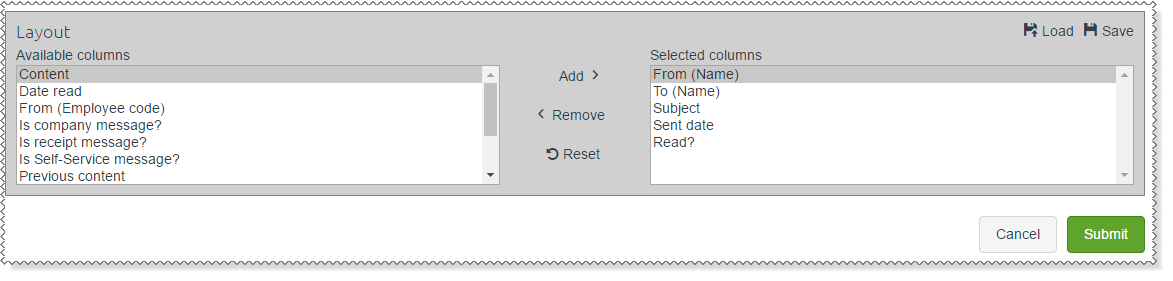
Note: If you want to use your customised layout again, then you must save it. 1. In the top-right corner, click Save to save the layout. The Save Layout box appears. 2. In the Save as field, type a name for your layout. 3. Click Save layout. The next time that you want to apply a layout that you have saved, click Load. This link displays a list of your saved layouts. |
The filtered messages are displayed in the grid.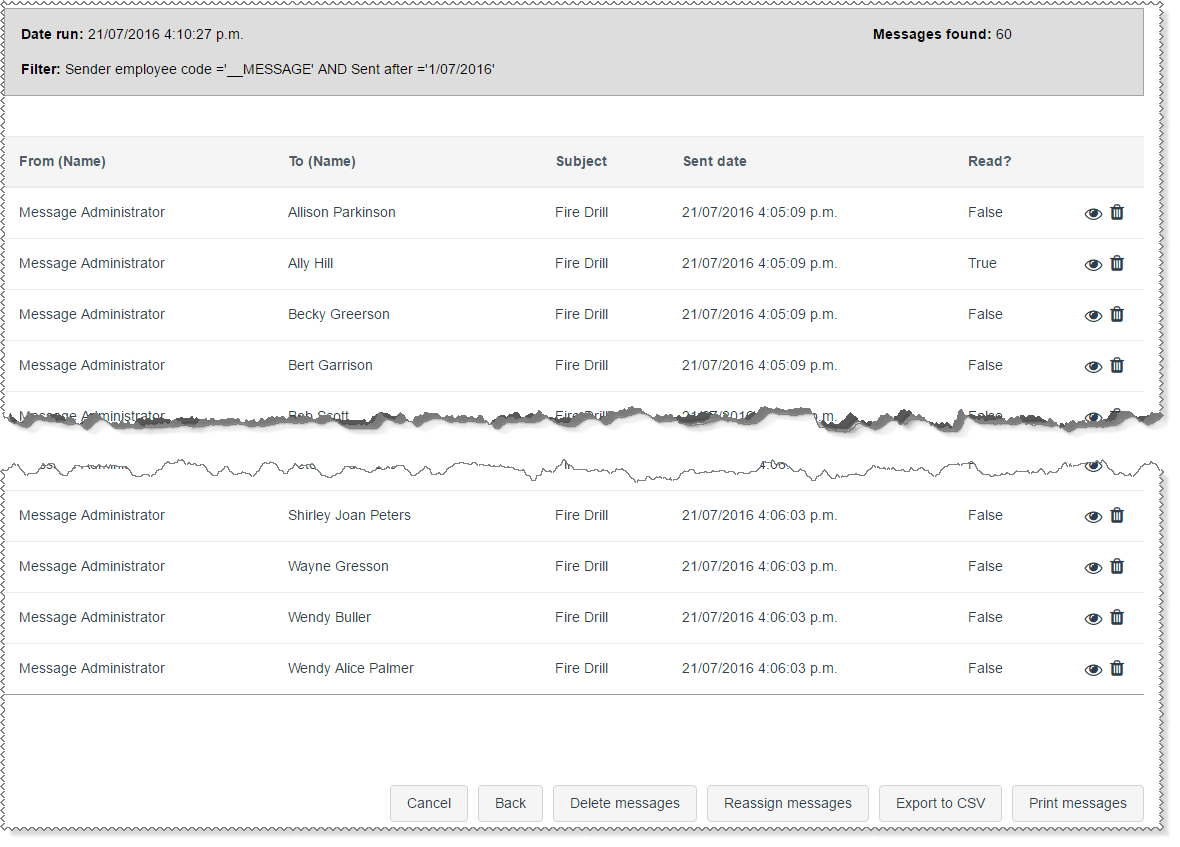
Note: If you have configured the Content and Original content fields to be displayed in the layout, they will not be displayed in the grid due to the potential size of these fields. However, when they are configured, these fields will be displayed / exported / printed when any of the other functions are used.
The Message Search page has the following options:
Option |
Details |
|
View message |
|
Delete message |
Cancel |
Return to the Message Search - Filter page. Filter clauses are cleared and changes that you have made to the unsaved layout are cleared. |
Back |
Return to the Message Search - Filter page. Filter clauses are retained and changes that you have made to the unsaved layout are retained. |
Delete messages |
Delete all messages. A confirmation message appears that you need to acknowledge. |
Reassign messages |
Opens a new window that allows you to specify the code of the employee that you want to reassign the messages to. A confirmation message appears that you need to acknowledge. |
Export to CSV |
Creates a CSV file that contains all the data currently displayed in the grid. The columns displayed, order, and sorting are all retained in the CSV file. Click Save to save the file to your computer, or click Open to open the file with Microsoft Excel (if Excel is installed on your computer). |
Print messages |
The messages are realigned and displayed in a print preview. The Windows Print setup window appears. Follow your usual print procedures to complete printing the messages. |
|
|
|
 |
Topic: 30185


