

|
|
|
|
|
|
This topic shows how to view Direct Credit Schedule files in the Outbox and use Customise Columns to see more information about those files. It then explains how to use the Send and Receive command to send the reports to the locations specified in the Report Destination settings.
You are on the main window.
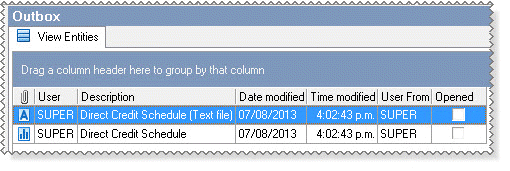
When you ran the Direct Credit Schedule report, you generated two Direct Credit Schedule files in the Outbox:
You will import this banking text file into your banking software.
You can open this report file to check the report figures.
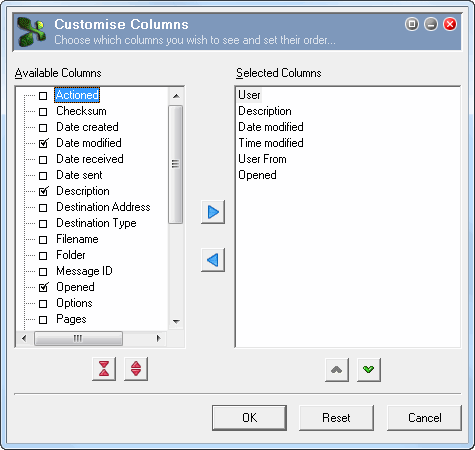
Your Customise Columns form now looks like this:
In this example, the filename is derived from the "W - Weekly" Periods record so it is:
C:\PAYGLOBAL\COMPANIES\AUSTT2013\EXPORT\WEEKLYTTLTD.TXT
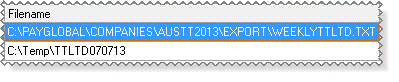
In this example it is: C:\Temp\TTLTD070713.
You entered this information in the Filename field on the File options tab — see Edit Direct Credit Schedule Destination.
The Send and Receive Messages form appears.
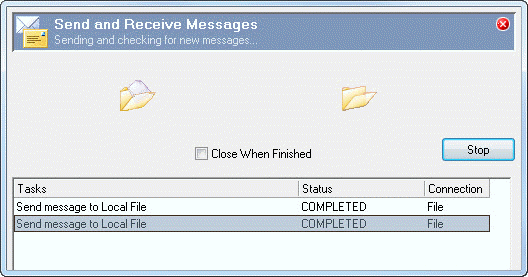
Note: If the Close When Finished checkbox is selected, the Send and Receive Messages form will close automatically.
An audit log Confirm box appears.
|
|
|
|
|
Topic: 39260
