Export Organisation Chart
The Organisation Chart can be exported to a CSV file that can be imported into Visio or another organisational charting software package. Employee photos can also be exported from Self-Service and included in the Organisation Chart.
Use the following procedure to export an organisational chart into Visio.
- Click on the Export Organisation Chart button at the bottom of the Organisation Chart. The following export screen will be displayed that provides quick start instructions on how to use the export files.
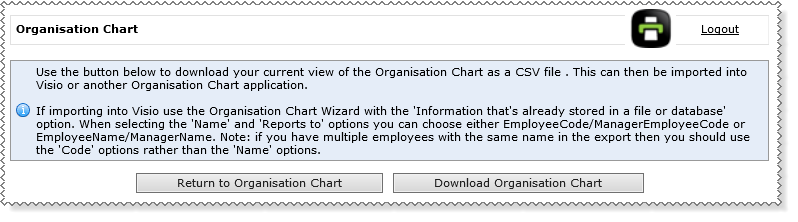
- Click on Download Organisation Chart button to download the export file, which will be a text CSV file with the following columns:
- EmployeeCode -The employee code of the employee.
- ManagerEmployeeCode - The employee code of the manager for the employee. Note that if the employee has multiple managers then this will be the employee code of the first manager retrieved.
- EmployeeName -The name of the employee.
- ManagerName - The name of the manager. Note if the employee has multiple managers then this will be the name of the first manager retrieved.
- Position - The description of the employee's WAP. Note that vacant WAPs (a WAP that has no-one currently appointed to it) will be exported with descriptions and codes to indicate that these are vacant.
- Department - The description of the department associated with the employee's work area.
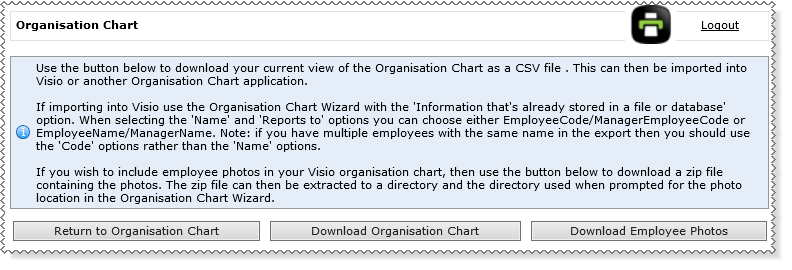
If photos are configured to display on the organisation chart, click on Download Employee Photos button to download a zip file, which will include the employee photos in the organisational chart.
Note: Only those employees that are on screen in the organisation chart will have their photos included in the zip file.
Import into Visio using the Organisation Chart wizard:
- Unzip the contents of the zip file to a folder on your machine.
- In Visio, set ‘Match pictures based on:’ to ‘EmployeeCode’, and select the folder above when prompted.
- Complete the rest of the Wizard as per usual. Employee photos should now display on the Organisational Chart as expected.
Note: If you selected ‘First name: (optional)’ to EmployeeName then you will need to ensure that the photo is renamed in the following format: "[EmployeeName] + [EmployeeCode].[file extension]".
Topic: 43522